$43.47
Description
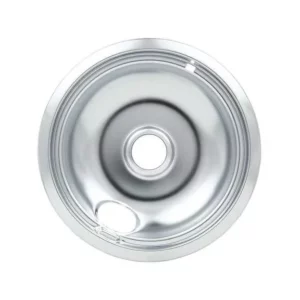
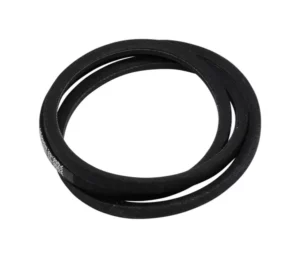
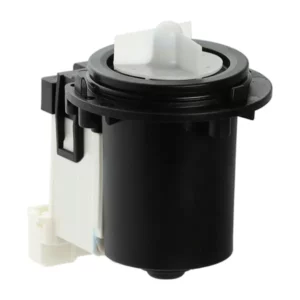
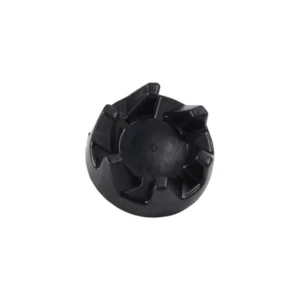
Verify Kit with Model # Check Belt Idler Include: 1 each 661570 Drive Belt 1 each 279640 Idler Pulley 4 each W10314173 Drum Support Roller 8 each Tri Ring This Whirlpool Dryer Repair Kit is designed to help you with any dryer repairs you may need. The kit includes all the necessary parts and tools you will need to get your dryer back to working order, including a replacement heating element, belt, rollers, screws, and terminals. It also features detailed instructions to guide you through the repair process and get your appliance running in no time. With this comprehensive kit, you can be sure that your Whirlpool dryer will be quickly and effectively repaired. We’re your #1 source for genuine OEM appliance parts. Contact us for further questions as well as any other appliance parts needs!
Installation Instructions
Replacing Your Whirlpool Dryer Repair Kit
1. Unplug the dryer from the wall and turn off the circuit breaker.
2. Open the dryer door, and remove the two screws that hold the lint filter in place.
3. Pull the lint filter forward and disconnect the two electrical connections behind the filter.
4. Carefully pull the dryer away from the wall, making sure to watch for any loose wires or hoses that may be connected to it.
5. Using a Phillips head screwdriver, remove the screws that attach the top panel to the dryer.
6. Gently lift the top panel of the dryer, taking care not to damage any wires or components that may be connected beneath.
7. Disconnect the high-temp switch and thermal fuse from the dryer.
8. Take out the old dryer repair kit, and make sure you have the new one ready.
9. Install the new dryer repair kit, making sure to connect the high-temp switch and thermal fuse correctly.
10. Replace the top panel and reconnect the two electrical connections to the lint filter.
11. Replace the lint filter and secure with the two screws.
12. Replace the plug in the wall and flip the circuit breaker back on.
13. Test the dryer to make sure it is in working order.
Please keep in mind, these instructions are for general guidance and should always be used in conjunction with the manufacturer’s manual, if available.Installation Instructions